At this point, you should have created a client, a project, a task, and at least one time entry.
Let’s pretend that you have closed this project and you want to invoice the client. To do this, we first need to add yet another piece to the puzzle — an invoice template.
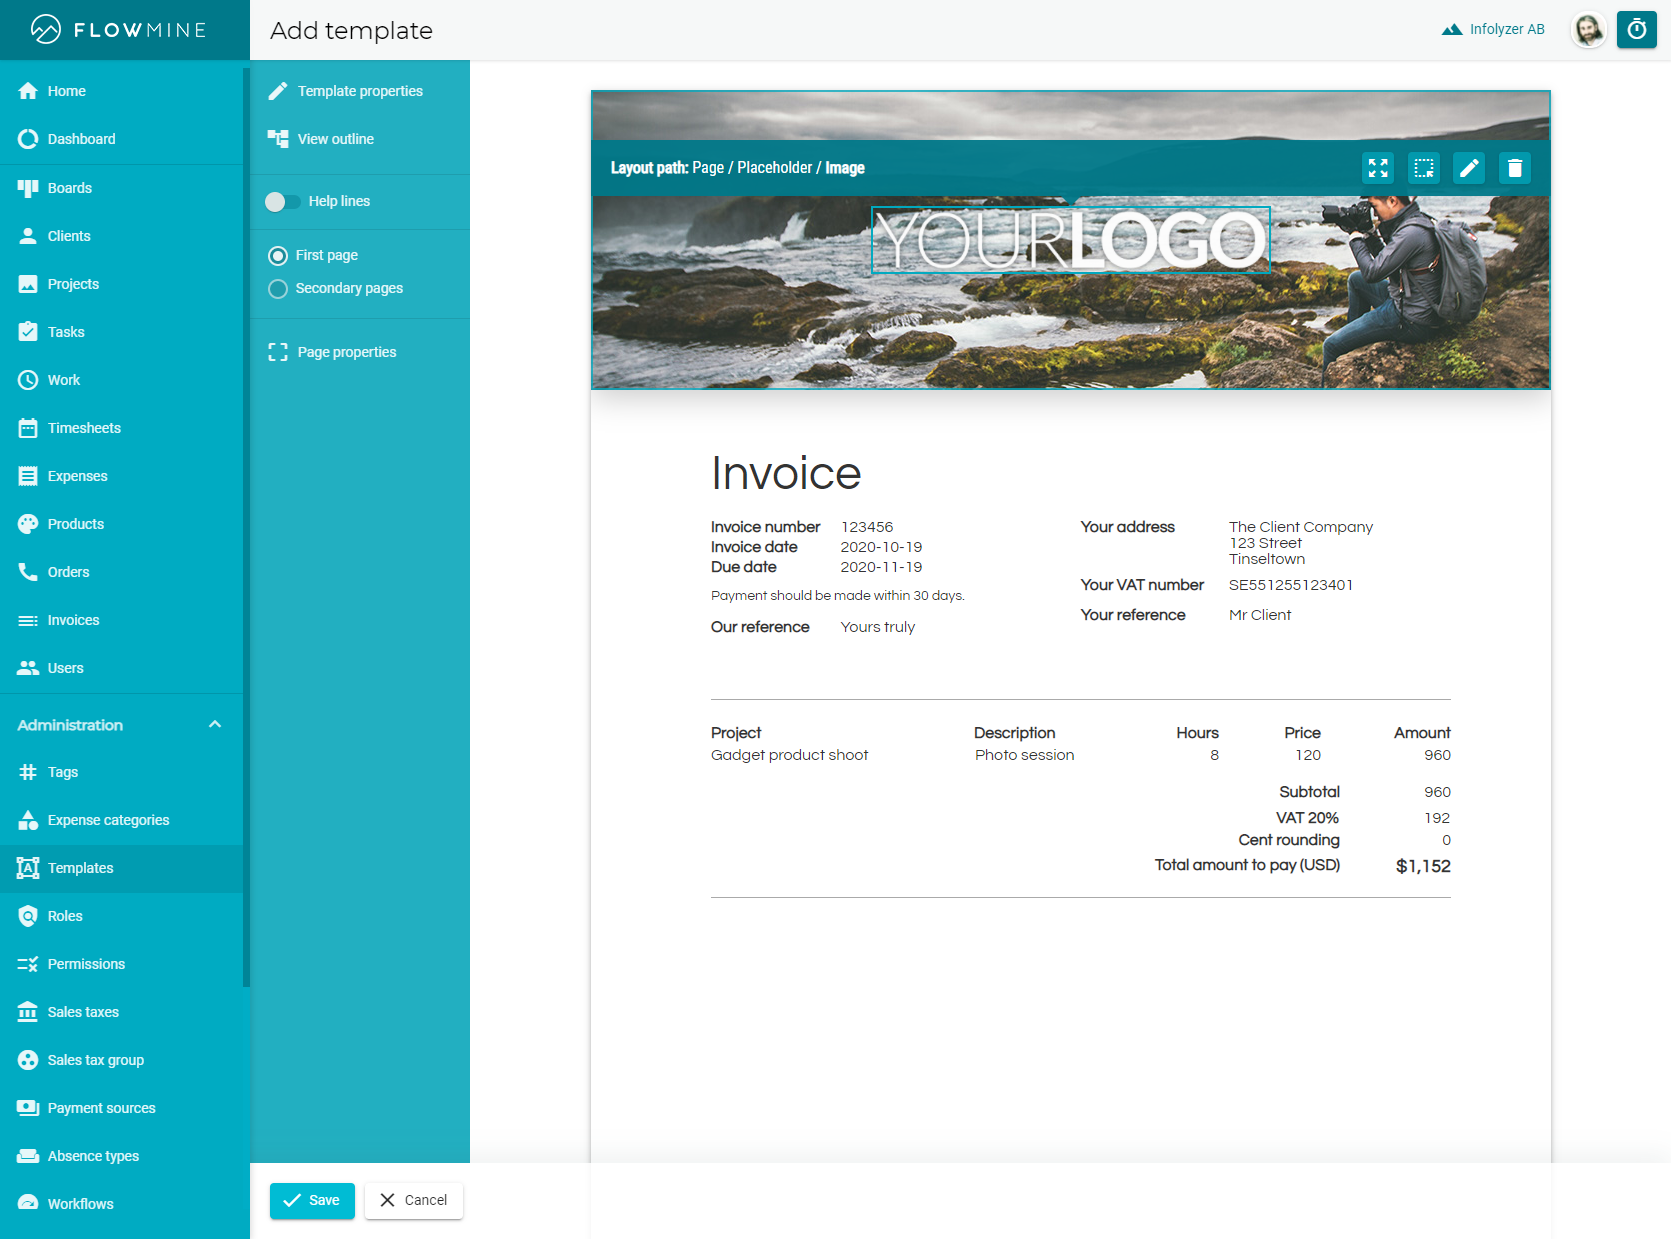
Pick one of the presets under the invoice tab, give it a name (located under Template properties), and hit Save.
Assembling the invoice specification
After clicking Add invoice in the invoice list, select your new client and template from their respective dropdown lists.
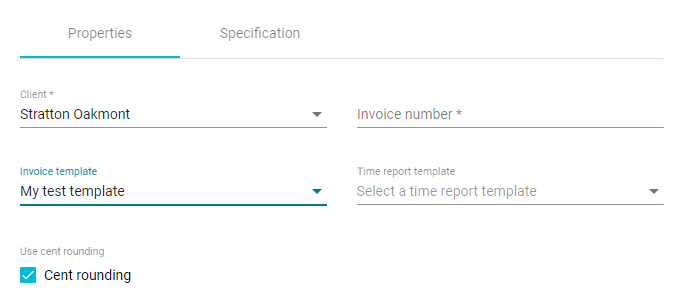
Then switch over to the Specification tab.